





Figma is where most modern websites start, and Webflow is where many of them ship. Closing the gap between the two is one of the most common tasks in web design today. This guide walks through how to convert Figma to Webflow end to end: how to prepare your design, how to use Webflow's official Figma to Webflow plugin (which has changed significantly), and the manual work that still matters once your design lands in the canvas.

Key takeaways
- The Figma to Webflow plugin was rebuilt around three tabs: Layers, Variables, and Styles, plus a companion Figma to Webflow App for importing synced work.
- Layers must use Auto Layout to sync. Every Figma layer name becomes a Webflow class.
- The plugin runs in Chrome or the Figma Desktop App — it is not supported in Safari.
- The plugin does not transfer interactions, animations, or variants; those are built in Webflow afterward.
- Use the plugin for clean, component-driven designs; rebuild manually for complex or long-lived sites.
Two ways to convert Figma to Webflow
There are two routes from a Figma file to a live Webflow site, and most teams use a blend of both:
- The plugin route. Webflow's Figma to Webflow plugin syncs your layers, variables, and styles into Webflow automatically. It's fast and keeps your design system intact, but the output almost always needs cleanup.
- The manual route. You rebuild the design directly in Webflow, using the Figma file as a reference. It's slower upfront but produces cleaner markup and is often the better choice for complex or long-lived sites.
The plugin is the headline feature, so we'll cover it in depth — but treat it as a starting point in a larger workflow, not a one-click solution.
What does the Figma to Webflow plugin do?
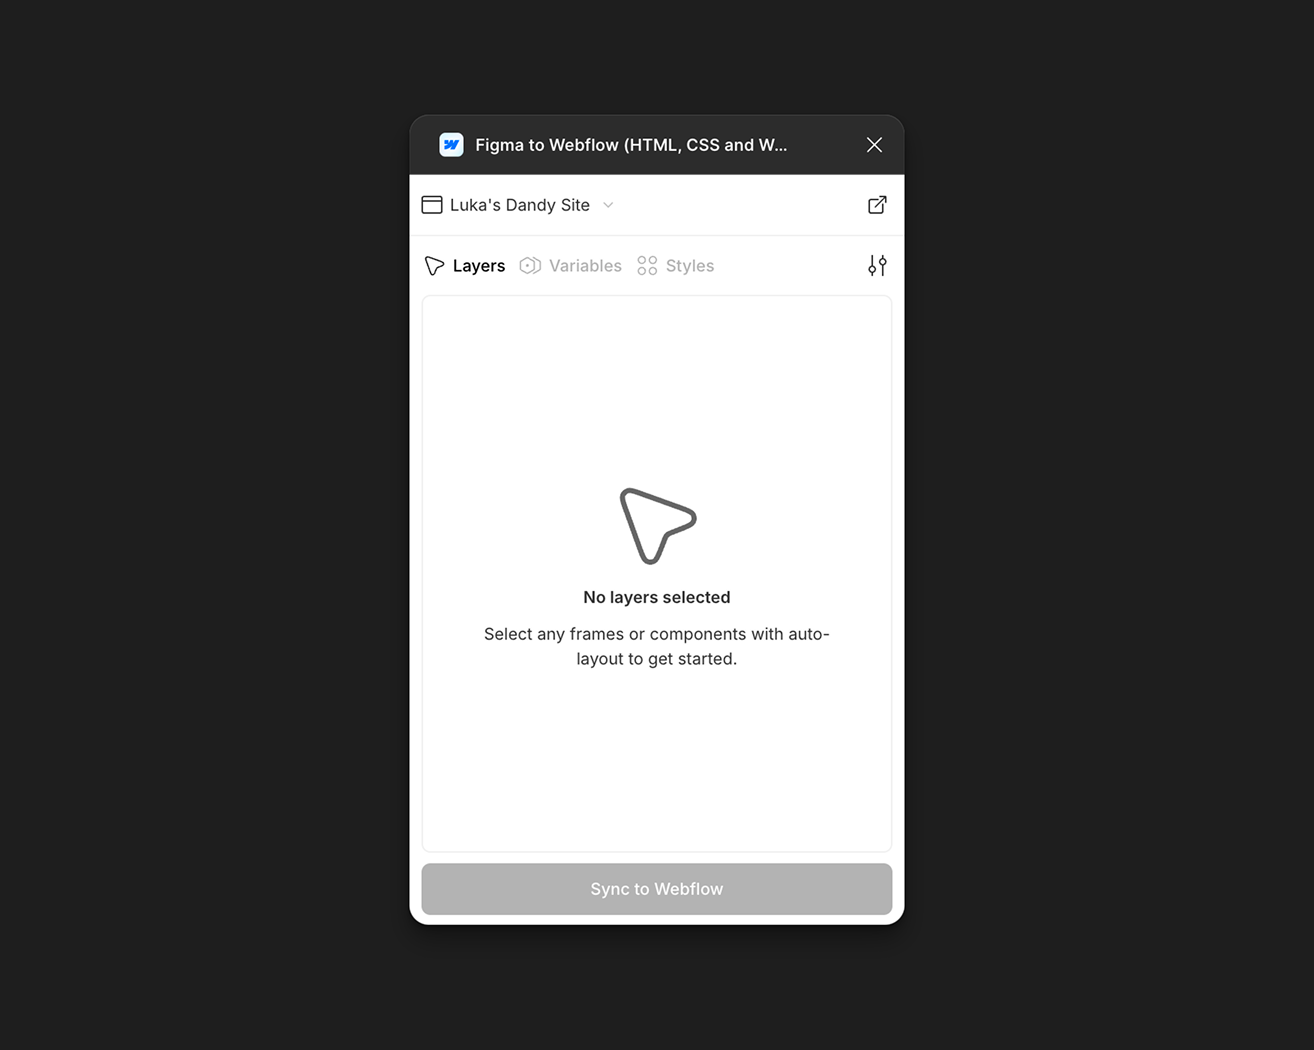
The Figma to Webflow plugin, built by Webflow, lets you sync figma designs directly into Webflow through the plugin and companion app, translating auto layout frames into Webflow's responsive flexbox structures and bringing your design system across with them. After a major redesign, it now works alongside a companion Figma to Webflow Appinside Webflow, and together these tools are organized around three workflows:
- Layers — export Figma frames and components to Webflow components and elements.
- Variables — export Figma variables to Webflow variables (your design tokens for color, spacing, type, and more).
- Styles — export Figma text and effect styles to Webflow classes.
This is the biggest shift from the plugin's earlier versions. It's no longer just a copy-and-paste tool for layouts; it's a way to support a broader development process by keeping a shared design system in sync, so designers can iterate in Figma while developers pull changes into Webflow on their own schedule.
One important note before you begin: the plugin is not supported in Safari. Use Chrome or the Figma Desktop App instead.
Before you sync: prepare your Figma file
The plugin can only work with what you give it, and a clean Figma file is the single biggest factor in a clean Webflow result. Set yourself up properly first:
- Use Auto Layout everywhere. Layers must have Auto Layout applied in order to sync — it's what translates into Webflow's flexbox system, and Figma’s Auto Layout improves design-to-development efficiency because it maps more cleanly into that structure. If a frame doesn't have it, use Figma's "suggest auto layout" feature to add it quickly.
- Name layers descriptively. Every Figma layer name becomes a Webflow class on sync, so keeping figma layers thoughtful and consistent saves you a cleanup pass later.
- Build with components and variables. Reusable components map to Webflow components, and Figma variables map to Webflow variables. The more structured your design system, the more of it survives the trip.
- Upload custom fonts to Webflow first. If you're using custom fonts, upload them to your Webflow site beforesyncing — otherwise they're lost in the transfer.
- Keep an eye on complex effects. Advanced blurs, blend modes, and unconventional vector work don't always translate cleanly. Plan to check and adjust these after syncing.
A little discipline here is the difference between a sync you refine in minutes and one you spend hours untangling across the whole project.
How to install and connect the plugin
The setup flow was rebuilt along with the plugin, so older walkthroughs (including our previous version of this article) are out of date. Here are the current steps. Sign in to both Figma and Webflow first, then:
- Go to the Figma to Webflow plugin page in the Figma community.
- Click Open in…
- Select a file from your recent files, or click New file — it opens in Figma with the plugin modal active.
- Click Run at the bottom of the modal.
- Click Next > Connect.
- Select the sites or Webflow workspaces you want to connect in your workspace, then click Authorize app.
- Close that browser tab and return to Figma.
- Click Get started in the modal.
- Select a Webflow site at the top of the modal to begin.
That's the whole connection. The Webflow app is installed automatically during setup, so there's no more "Connect Account" step or font-and-class prep buried in the install — the flow is leaner than it used to be for users following the current steps.
How to sync your design
Once you're connected, you'll work in one of the three tabs depending on what you're moving across.
Syncing layers
This is the main workflow for getting layouts into Webflow:
- Open the Layers tab.
- Select one or more frames or components in your Figma file to export figma layers through the Layers tab.
- Click Continue, then Sync to Webflow to sync layers into Webflow.
- In the Figma to Webflow App inside Webflow, click the most recent sync.
- Choose which components, elements, and variables to import.
- Click Import selected items.
This is the webflow transform stage where design structure becomes editable site elements inside Webflow.
Variables and images attached to those layers sync automatically, helping turn static designs into Webflow structure through this workflow. For large pages, sync a few components or sections at a time rather than the whole page at once — it's far easier to manage and fix.
Copy and paste (the quick route)
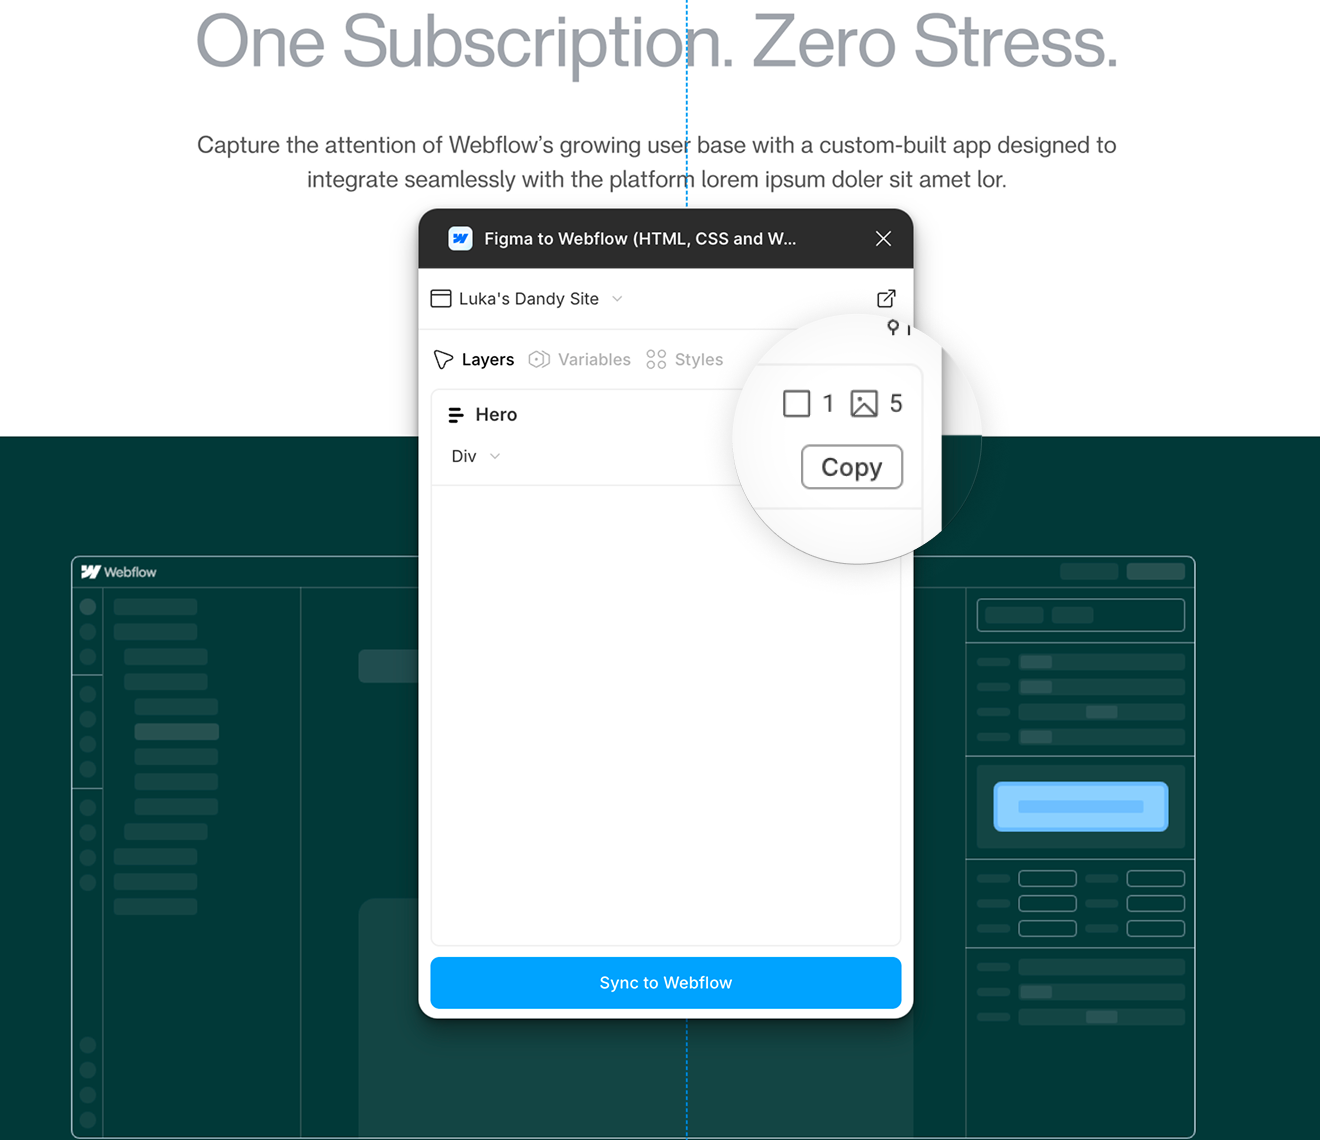
If you just want one section in fast, you can skip the app: in the Layers tab, select a frame, click Continue, click Copy, and paste directly into the Webflow canvas. The trade-off is that components paste as plain elements — to create an actual Webflow component, use the sync workflow instead.
Syncing variables and styles
The Variables tab pushes Figma variables into Webflow (one collection and mode at a time; you can set units like px, em, or rem and a base font size in plugin settings). The Styles tab converts Figma text and effect styles into Webflow classes, and you can set a class prefix in settings to keep them identifiable.
How the plugin handles the details
A few behaviors are worth knowing so the output doesn't surprise you: Webflow is translating design structure into front-end output with HTML and css, not just recreating visuals.
- Classes. Every Figma layer name becomes a class. Clean naming in Figma pays off directly here.
- HTML tags. The plugin auto-assigns tags from layer names: "button" becomes an anchor (link) tag, "description," "text," or "paragraph" become paragraph tags, and "heading" becomes an H1. You can also set tags manually in the modal — text elements support H1–H6, Div, and P, while auto layout elements support H1–H6, Div, Section, and Link.
- Images. Image layers and vector icons upload to your Assets panel — but only if the correct site is selected in the plugin's "Choose Webflow site" dropdown.
- Responsiveness. You can choose the breakpoint at which a layer stacks vertically (tablet, mobile landscape, or mobile portrait), or keep it horizontal so translated layouts hold up as responsive websites across breakpoints.
- Paste conflict shortcuts. When a pasted layer's class already exists on your site, you control what happens: a standard paste creates a new class, Cmd/Ctrl + Shift + V reuses the existing class, and Cmd/Ctrl + Option/Alt + V updates the existing class with the Figma styles.
Importing with the Figma to Webflow App
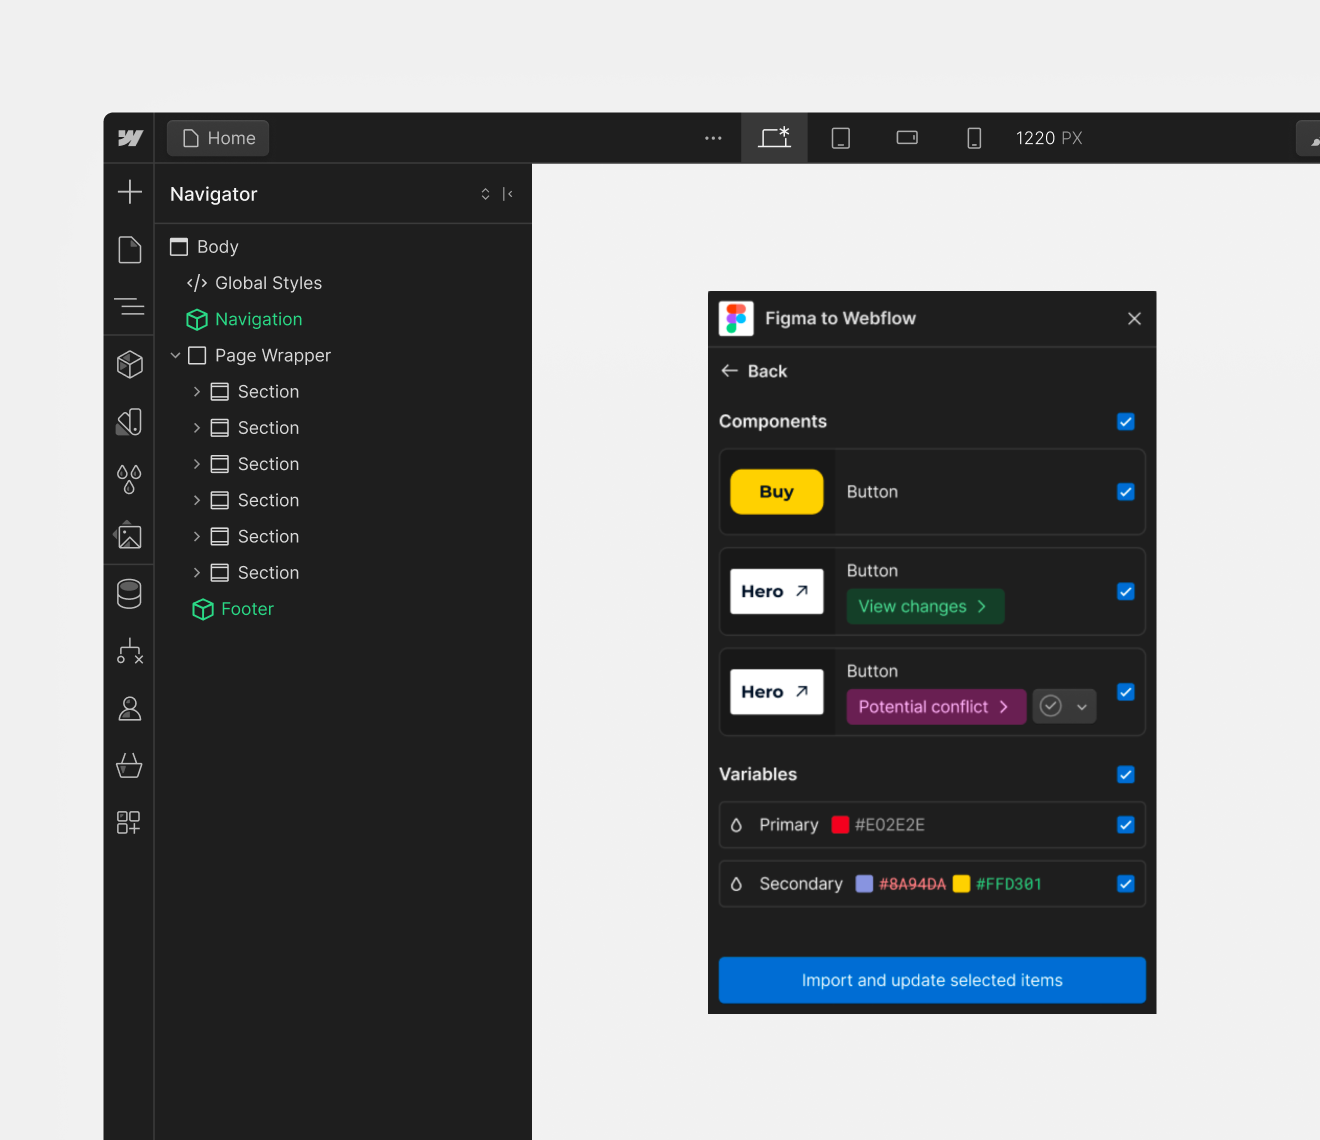
The companion app is where synced work actually lands in your site. Open it from the Apps panel in Webflow, click a recent sync from Figma, review the changes, and click Import selected items.
If something conflicts — for example, an element exists in Webflow but was deleted in Figma — the app gives you three choices: accept the change (which removes the element in Webflow), create a new component to preserve it, or revert the change back in Figma. This conflict resolution is what makes the Figma–Webflow integration usable as an ongoing sync rather than a one-time export.
What the Figma to Webflow plugin can't do (and what to do next)
Here's the part most quick tutorials skip: the plugin gets you a structural starting point, not a finished site. The conversion is rarely a production ready site on its own, and a real Figma to Webflow workflow includes meaningful manual work afterward. It can help teams launch sophisticated sites quickly, but refinement is still required before anything goes live.
Plan for these:
- Interactions and animations. The plugin doesn't carry over Figma prototyping or animations. Anything dynamic — hover states, scroll effects, page transitions — has to be built natively in Webflow afterward through Webflow interactions.
- Structural cleanup. Auto-converted output often includes extra wrapper divs, uneven spacing, and class names that need consolidating. Tidying this early prevents the kind of tech debt that makes a site painful to maintain later.
- Responsive refinement. Auto Layout gets you close, but you'll still need to test every breakpoint and adjust min/max widths and stacking so the layout holds up across devices.
- Variants. Responsive, state, and style variants aren't supported — separate Figma frames create separate components in Webflow, so plan your component structure accordingly.
Webflow also supports A/B testing and SEO tools natively, but those advantages come after the structural conversion work is cleaned up.
In other words, the plugin handles the repetitive translation; judgment about structure, semantics, and behavior still belongs to whoever's building the site, especially on sophisticated sites.
Plugin or manual rebuild: which should you use?
Use the plugin when you want to move a clean, well-structured design system across quickly, when you're prototyping, or when you're keeping Figma and Webflow in sync over time. It shines on tidy, component-driven files.
Lean toward a manual rebuild when the design is complex or unconventional, when long-term maintainability matters, or when the file wasn't built with Auto Layout discipline. Rebuilding directly in Webflow can feel slower at first, but starting from clean markup often beats untangling an auto-generated structure — especially on sites meant to scale.
Most experienced teams combine the two: sync the design system and straightforward sections with the plugin, then build the rest by hand.
When to bring in a partner
If a tutorial isn't enough — or you're working to a deadline where "almost production-ready" isn't good enough — this is exactly the kind of work a dedicated Webflow team and partner handles every day. At Flowout, our web designand Webflow development teams take designs from Figma to a clean, responsive, genuinely usable build, then wire up content with Webflow's CMS, create new page sections, and add the interactions the plugin can't. If you want design and build under one roof, our design and development service covers the whole path.
Frequently asked questions
How do I install the Figma to Webflow plugin? Sign in to Figma and Webflow, open the plugin from the Figma community via "Open in…", click Run, then Next > Connect, authorize the sites or workspaces you want, return to Figma, click Get started, and select your Webflow site. The plugin is installed automatically and works in Chrome or the Figma Desktop App — not Safari.
How do I convert a Figma design to Webflow? Prepare your Figma file with Auto Layout and clean layer names, then either sync your layers, variables, and styles through the plugin and import them via the Figma to Webflow App, or rebuild the design manually in Webflow. That works well because Webflow's visual-first approach makes it easier for designers to turn static designs into a production ready site, with evolving integration features also surfacing through Webflow Labs. Either way, expect to refine structure, responsiveness, and interactions once the design is in the canvas.
Does the Figma to Webflow plugin transfer animations and interactions? No. The plugin handles layout, styles, and your design system, but interactions and animations have to be built natively in Webflow after you sync.
Can I keep Figma and Webflow in sync? Yes. That's the point of the redesigned plugin and companion app — Figma designs can be synced directly into Webflow, so you can re-sync components, variables, and styles as your Figma design system evolves, and resolve any conflicts on import.
Are custom fonts supported? Yes, but you must upload them to your Webflow site before syncing, or they'll be lost in the transfer.
Does the plugin support variants? No. Responsive, state, and style variants aren't currently supported. Separate Figma frames will create separate components or elements in Webflow.
Which browsers does the Figma to Webflow plugin support? The plugin works in Chrome and the Figma Desktop App. It is not supported in Safari.