


If your website is not properly optimized for the best user experience, you won’t be able to compete on the market at all. In this article you will learn how to make your Webflow site lightning-fast based on real life examples that work. So whether you're a site owner or a developer, this is must read if you want to to take your performance to the next level.

What's slowing your site down?
Before you start to apply the advice to optimize your website, you need to identify what may be slowing it down. There are many different ways to analyze your page speed metrics, but one of the most common ones is Google's PageSpeed Insights (PSI) which they introduced in 2009 and started applying it as a factor in your website ranking. Another way to measure your site performance is by running Lighthouse through the Chrome Console Dev tools. Make sure to always check that you're analyzing in "Incognito" mode to avoid any unneeded interferences.
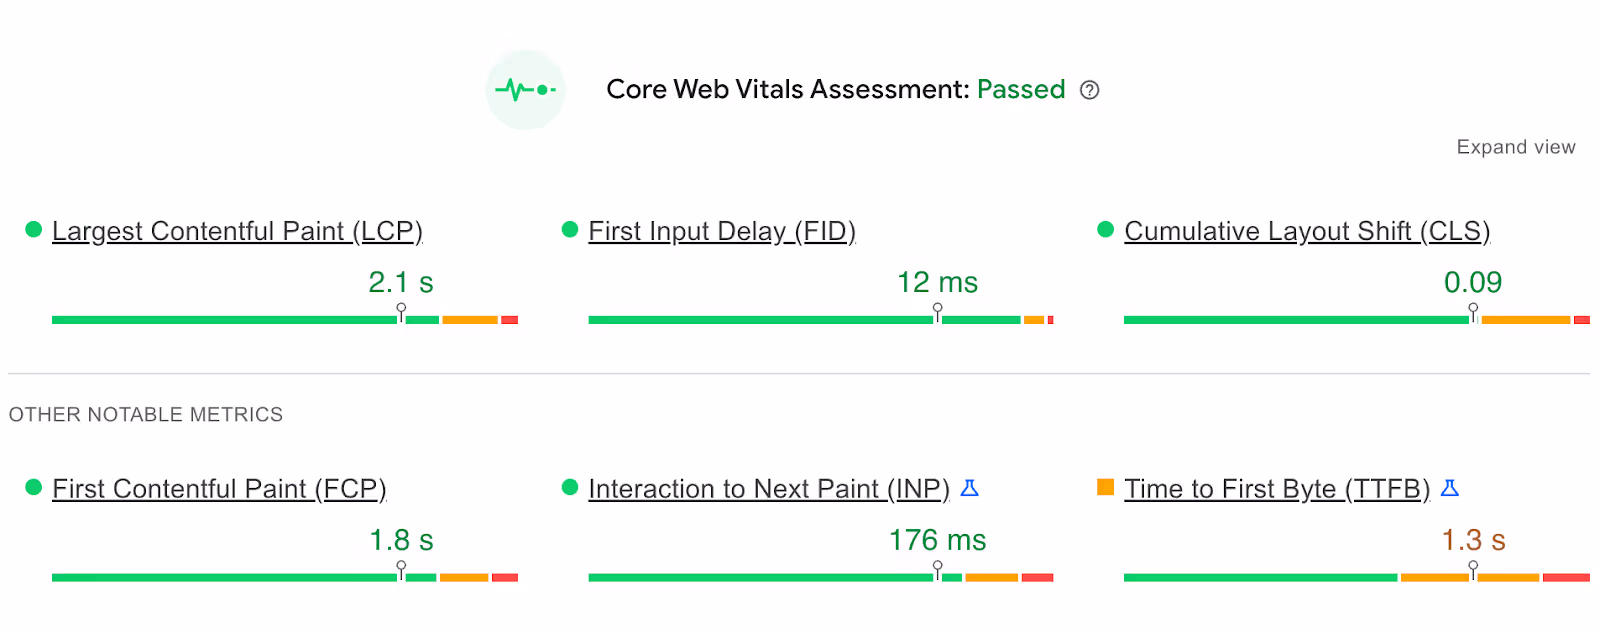
Google's PSI and Lighthouse report the following metrics on your site:
- First Contentful Paint (FCP): Measures the time from when your page starts loading to when any part of the page’s content is rendered on the screen.
- Speed Index (SI): Measures how quickly the content of your page is loaded and visible for the user.
- Largest Contentful Paint (LCP): Measures how quickly the main content of your page is loaded.
- Total Blocking Time (TBT): Measures the total amount your page was blocked, preventing the user from interacting with it.
- Cumulative Layout Shift (CLS): Measures the unexpected shifting of elements while your page is being rendered.
- First Input Delay (FID): Measures the time from when a user does something on your site (like clicking a button) to the time when browser is actually able to respond to that interaction.
- Interaction to Next Paint (INP): Measures how well your site handles visitor interactions (whenever user clicks something, the page should be ready to respond fast).
- Time to First Byte (TTFB): Measures the time in which the server responds to a request.
Disclaimer: Make sure you check results for both desktop and mobile because there might be different areas that need optimization.
But no matter what method you end up using, the goal stays the same - making sure you stay in the green zone. So let's get started and see what can be done to make your Webflow faster.
Webflow’s default optimization
Thanks to Webflow's blazing fast CDN hosting and the fact they run no additional add-ons or plugins, a lot s already taken care of by default. Here are some of the features Webflow has built in to improve performance:
- Minify CSS/HTML/JS option (turn it on or off for each).
- Images lazy load by default (does not cover background images).
- Automatically fits your images for different screen sizes.
- Generates and stores static pages for your CMS collection items.
- Configure link preloading option ("prefetch" or "prerender").
- Enable smoother font loading (set "swap" in the font display settings).
And although Webflow is constantly working on improving their service, it's not nearly enough if you want a top-performing site. There's so much more that you can do by yourself.
Additional steps for maximum website performance
If you want your Webflow site to be lightning-fast, here's an opportunity to take things into your own hands and make it happen. By applying advice from this article, you'll be able to improve your conversion rates, reduce bounce rates and maximize user experience.
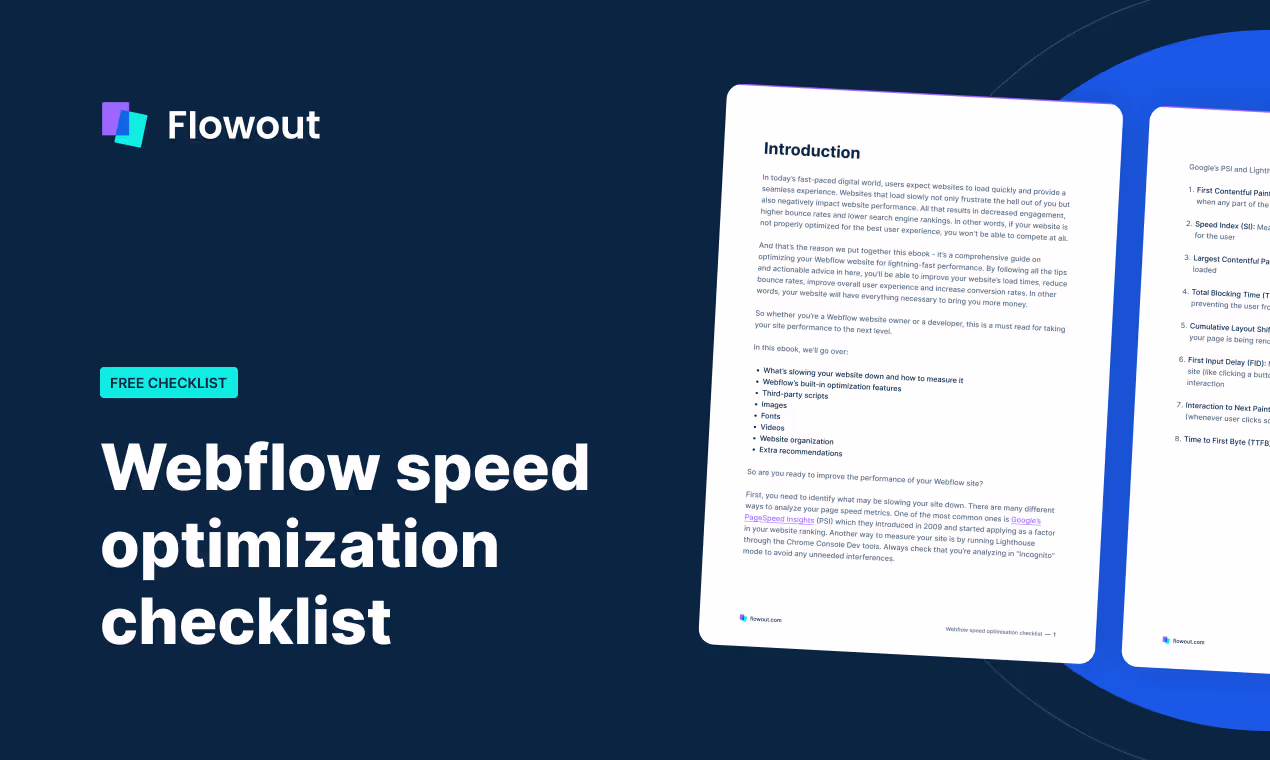
Before we go on, if you're really serious about maximizing your site performance, this free checklist is the answer:
Optimize your Webflow site performance (free checklist)
There are a lot of things you can do to improve your website performance and stay in the green zone, meaning you’ll most likely improve your conversion rates and improve overall user experience. All of which will bring you more money.
1. Third-party scripts
Third-party scripts running on your website are one of the most common causes for slow website performance because they're not optimized and are often very very heavy. But at the same time, most modern sites can't live without them - the least you probably use are analytics. I personally can't imagine having a website but not knowing what happens on it.
- Not all scripts should run on all pages.
If you're only using your script on one page, it's not really mandatory to run it on all pages. So make sure that script is added only to the page where it's used.
- Move scripts from <head> to <footer>.
Your scripts should be before the closing </body> tag. When your site is rendered, the browser parses the page from top to bottom.
- Add "async" or "defer" attributes.
The async tag means the script will be fetched in parallel to parsing. It's great if the script doesn't need access to any DOM elements and if you don't care about the order of the execution (analytics).
The defer tag means that the browser will load your script in the background, but start executing it only after the page is rendered. Useful if the script needs access to DOM and when order of the execution is important (JavaScript animation).
- Embed if the code is small.
If you're working with a smaller code, it's better to just embed it. Even if the script is very small (a few KB), adding it as a <script> would be actually heavier.
- Delay the script loading.
If your script is not absolutely crucial (like a live chat support widget), you can delay the loading for a few seconds with the "setTimeout" function.
- Load scripts on condition.
In some cases, you don't need scripts all the time, but only when a specific condition is met. If you're running an ad script for example, you can make it so the script loads only when the user from the specific campaign clicks through.
2. Images
Images are one of the heaviest assets on your page and offer the most room for improvement. Webflow handles a little portion of that by default, but that's just the top of the iceberg.
- Use WebP format.
Webflow supports the .webp image format in most cases, so make sure you use it. For images that are not part of the assets panel, you can use Optily. It automatically downloads all images in your CMS, compresses and reuploads them back to your site.
- Lazy load images.
Webflow lazy loads all new images by default, but there's a little trick. No need to use that on the first screen because it will only delay the total load time. Instead, set only the images below the first screen to lazy load.
- Don't use background images.
Avoid using images as background of any element. They can't lazy load and aren't optimized. A better way would be to use <img> positioned accordingly with the "object-fit" property.
- Use SVGs for vector images.
Most icons or even simple forms can be replaced with SVGs, but always make sure you check which format is better - SVG or WebP (because SVGs don't necessarily end up smaller).
- Embed small SVGs.
If your SVG images are small, embed the code directly on the page. It only makes sense for smaller SVGs though because bigger ones will slow down your site.
3. Fonts
Some of the Webflow's default features are already focused on optimizing your fonts, but there are still some tricks left for you to do.
- Don't use too many fonts.
Normally 1-3 fonts should be enough (super important for building a consistend brand). System fonts like Arial or Helvetica work the best because custom ones are often not optimized properly.
- Preload fonts.
This is one of the harder tricks, so you can freely avoid it. By applying all other advice, you should already see great results.
Since the font source is located in the CSS, the fonts start loading only after that file is loaded and parsed. So you should tell the browser to preload the font files earlier. But here's the catch. Loading your fonts from external origin with code will disable an option to select from the drop-down menu in Webflow, so you need to first upload the font, select it in the drop-down for all classes, then delete it and load it with code. So try doing this only if you're confident enough around Webflow and custom code.
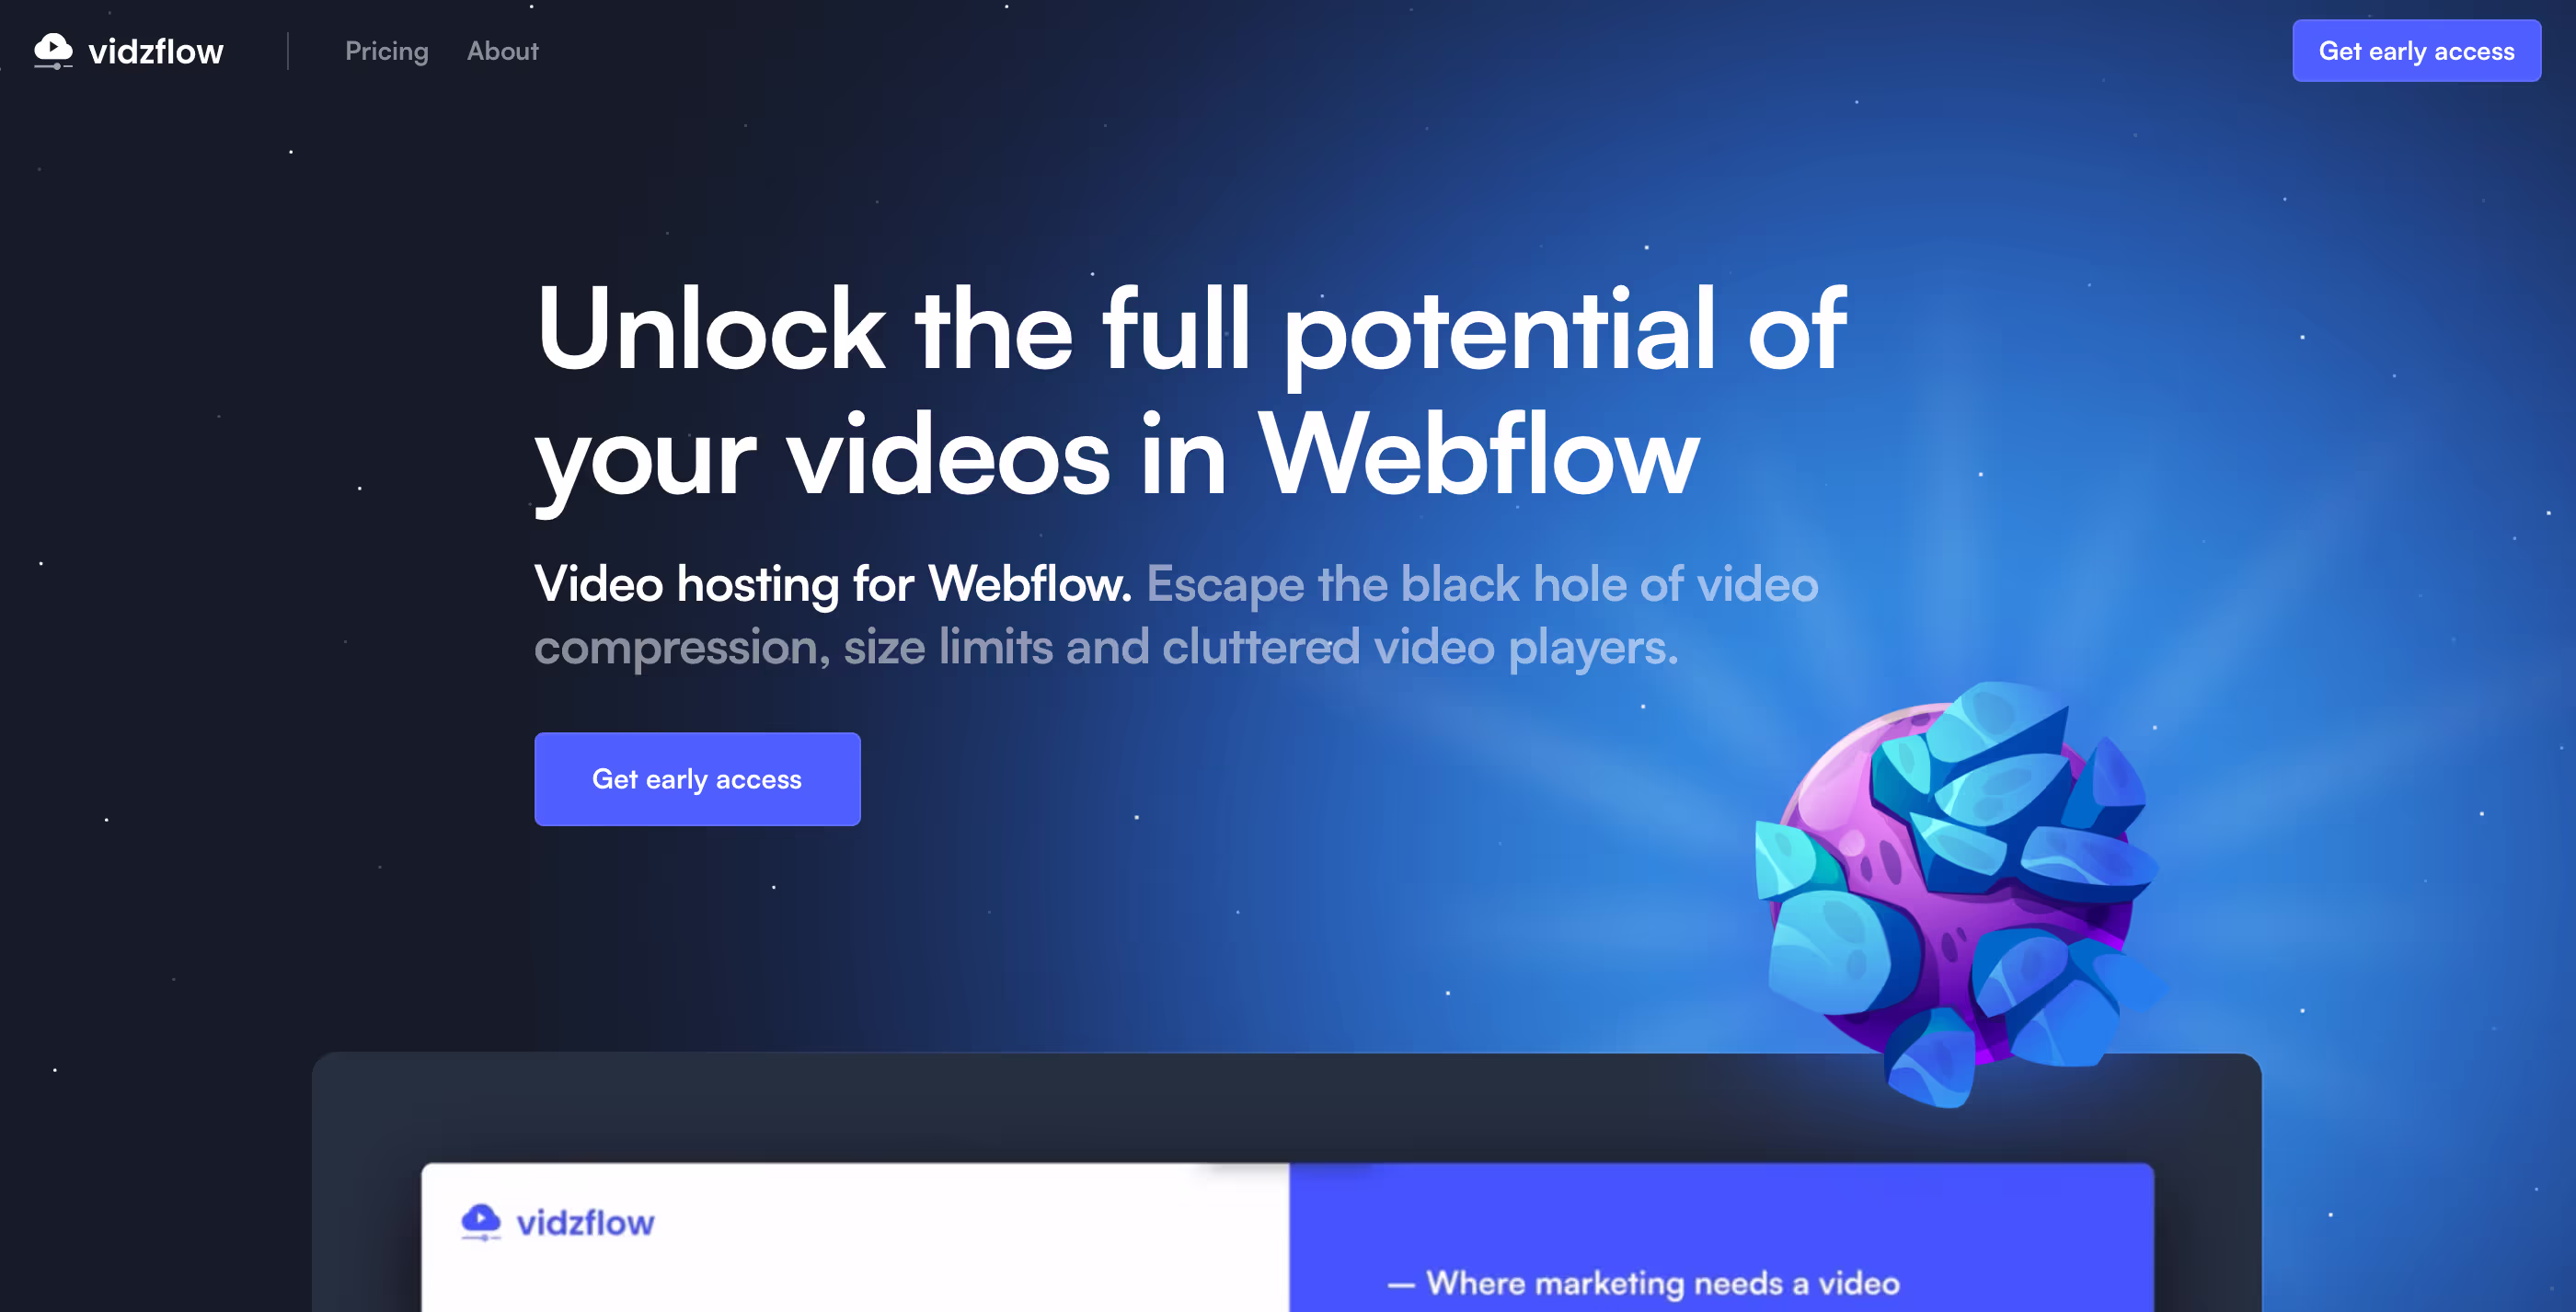
4. Videos
Vides are a never-ending story of slow performance in Webflow. Their native solution can decrease video quality and some users even reported that optimized videos came out larger. Not fun at all.
Thankfully, there's another way. Meet Vidzflow. At Flowout, we had a lot of problems with all existing video hosting solutions (like YouTube, Vimeo, Wistia, etc.), so we decided to build a better alternative. We took all of our experience and pain points to make the best possible video hosting for Webflow with no size limits, no compressions and a much faster and customizable clutter-free player.
5. Website organization
A lot of improvements can actually come from simple routine actions that you should do on a regular basis.
- Clean up.
If you just remove elements or pages, classes are not actually removed and they still run with your CSS file. You should regularly clean up in the "Style Manager" and remove unused elements. Do the same for unused drafts and animations in the "Interactions" tab.
- Enable browser caching.
Browsers cache resources locally once they've been downloaded (so they can be used in the future). So make sure to enable browser caching on server-side settings and configure the expiration date.
- Organize styles.
One of your most common practices should be to organize styles and reuse them wherever possible. Set fonts, text sizes, colors, default paddings and margins on the root level.
- Turn off features you don't use.
Webflow enables additional ecommerce features on your website, but they are packed with extra JavaScript code and pre-built pages. So you can imagine it makes your site a lot heavier and slower.
- Focus on the first section.
The first visible section on your website is the most important because it needs to load everything at once. Make it light, with no or very few small images, lights animations and code/gradient effects (avoid heavy Lottie animations).
- Keep testing.
Constantly testing your website performance is one of the best pieces of advice you'll get. The reports depend on your network, hardware, server response time, browser extensions and any software you run, so it's really important that you run these analysis more than once (5-10 at least for optimal results).
Don't worry if this is all too much for you
I understand not everyone is completely confident in Webflow so that's why we're here. These tips can quickly get too technical or even too time consuming for you, especially if you're running heavy websites that need a lot of manual attention.
We design, develop and optimize a lot of websites on a daily basis, including ones for the world's fastest growing startups like Jasper, Sendlane, Awning, etc.
So if you think we would be a good fit: